Fine Art Portrait Photography Camera Settings
A Practical Portrait Photography Guide
When people search for the best camera settings for portraits, they usually want something reliable that they can return to. That’s especially true if they’re starting to move toward a more refined fine art portrait photography style and want their results to feel consistent.
This portrait photography guide explains the portrait camera settings I regularly use in my own work and why I use them. There isn’t a single formula that works in every situation, but there is a structured way of working that produces repeatable results.

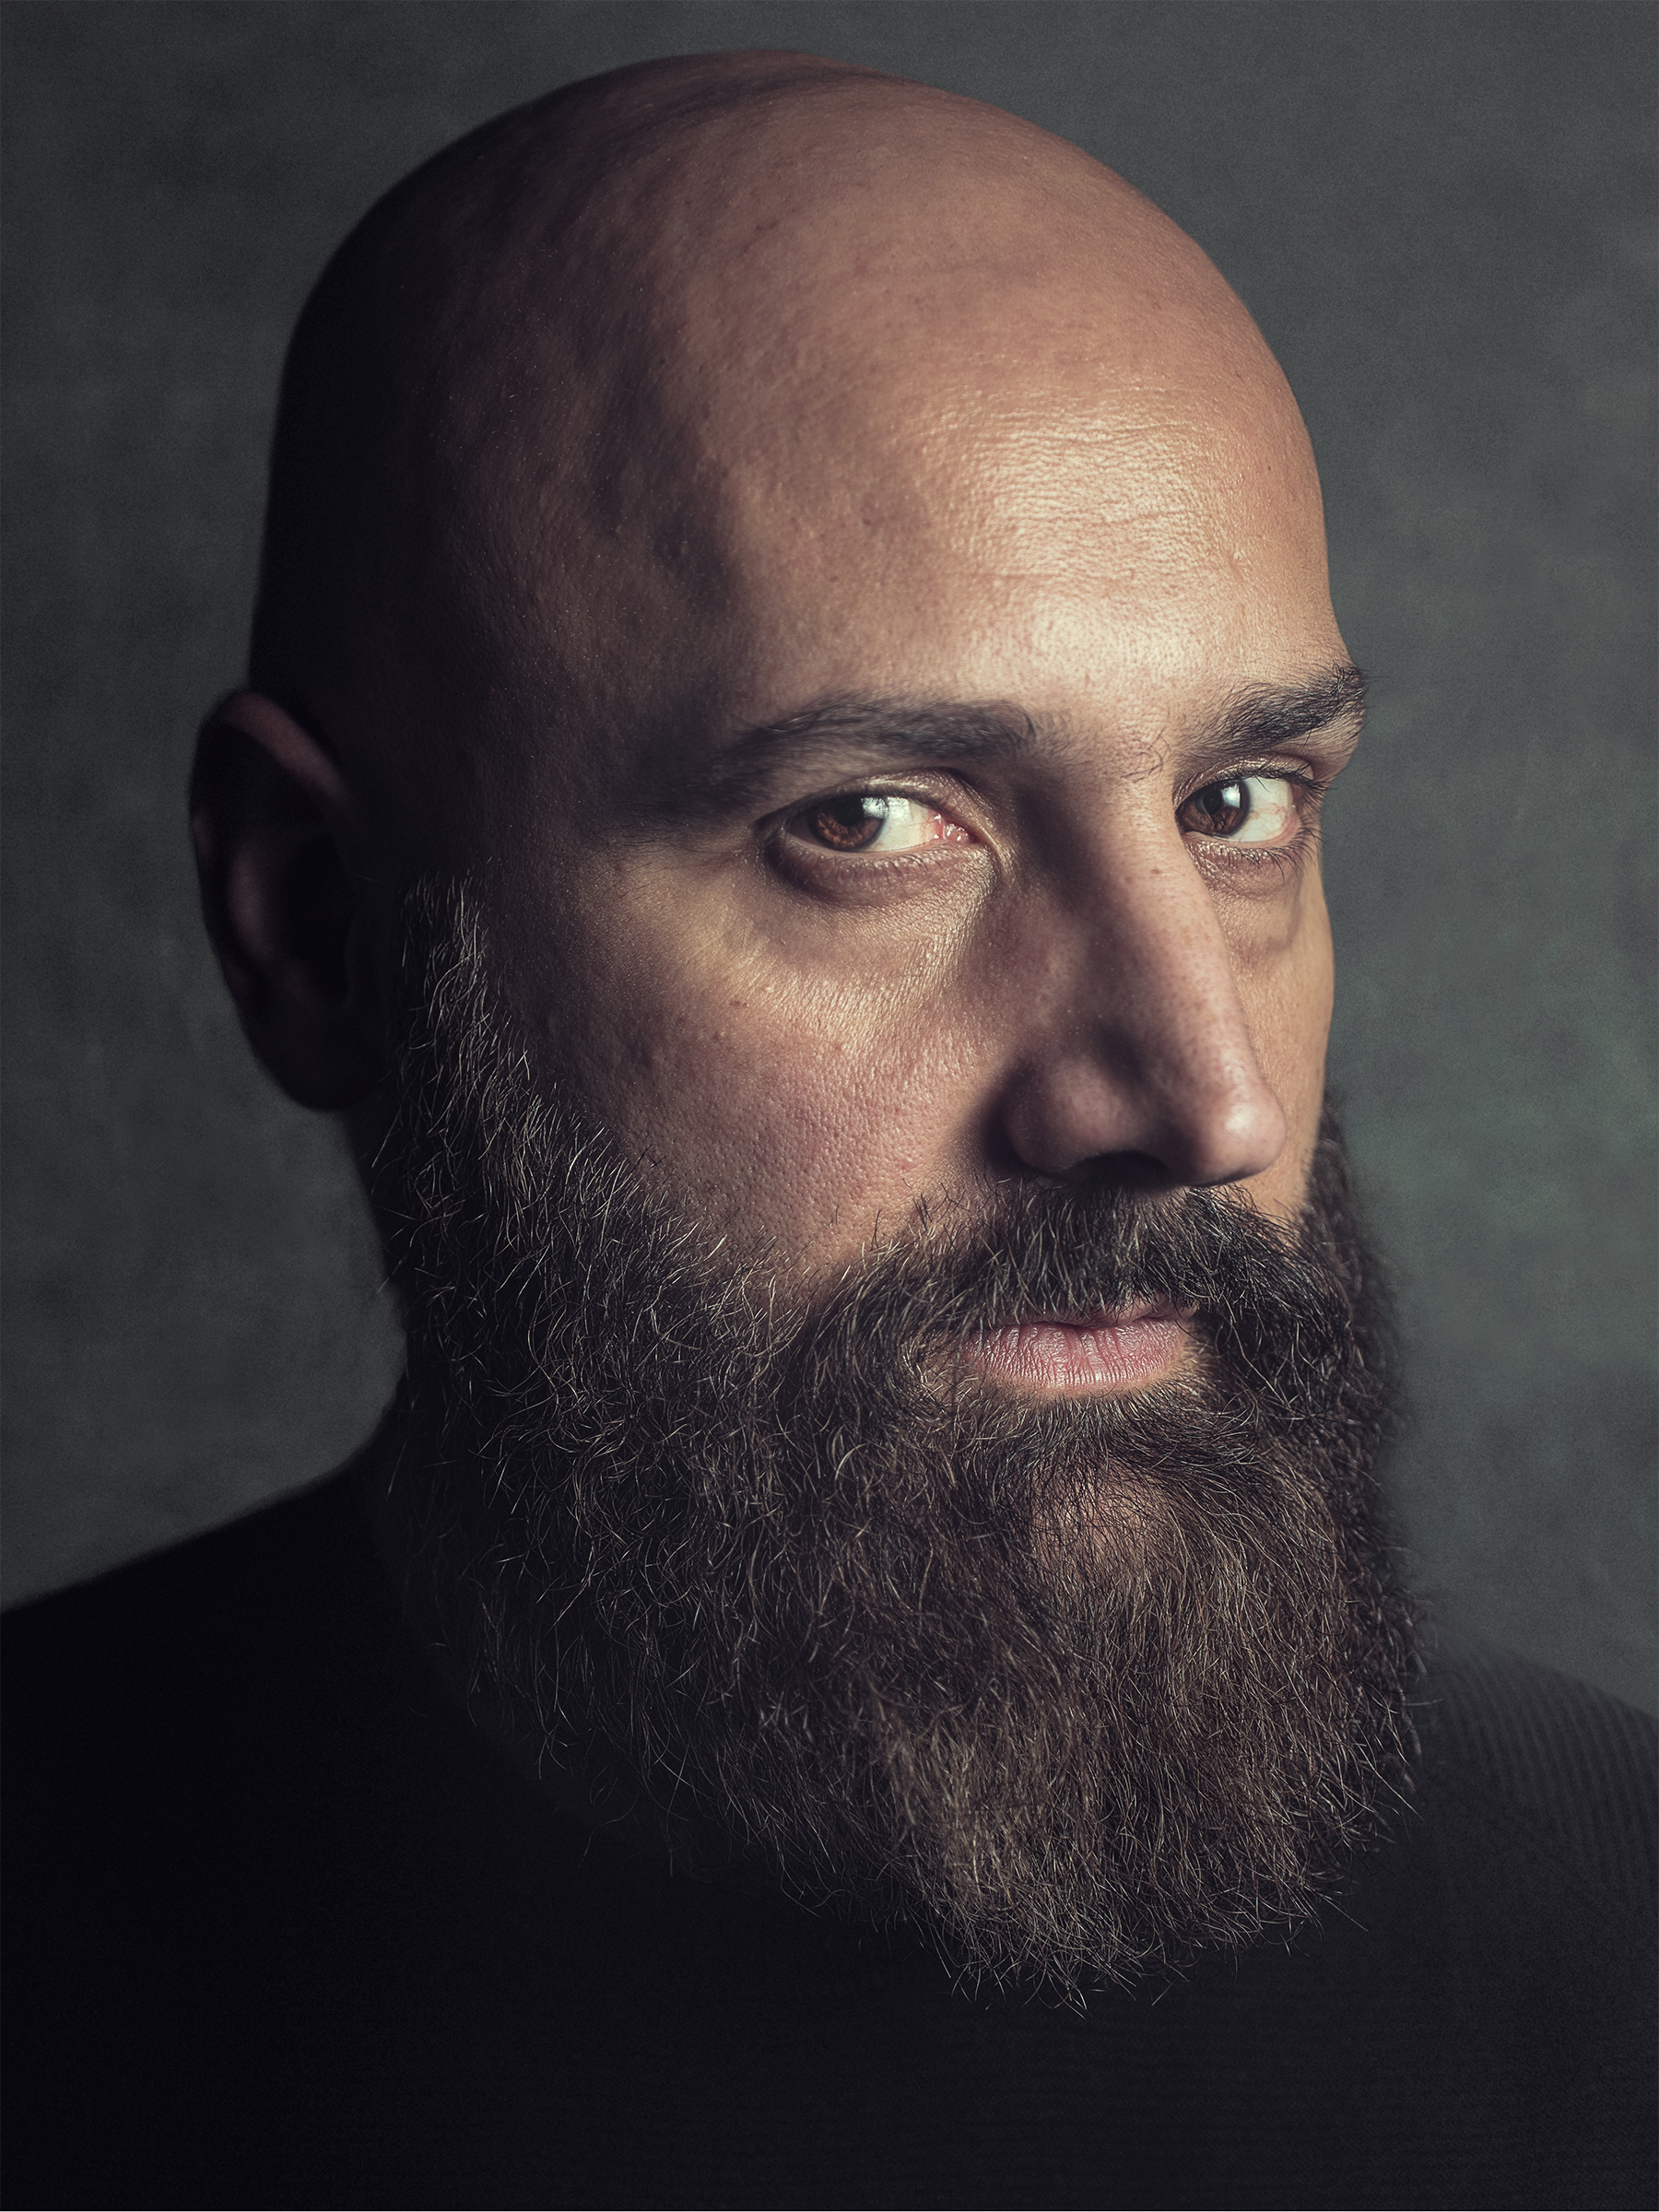
This portrait was shot at 70mm on a full frame Sony A7RIII, © Matt Garnett 2024
Why camera settings matter in fine art portrait photography
In fine art portrait photography, you generally build the image deliberately rather than reacting to whatever light is available. Because of that, your portrait photography settings need to support the lighting decisions you’ve made.
Your portrait camera settings influence how detailed the face appears, how smooth the transitions between light and shadow feel, and how much depth the final portrait has. When your approach to studio portrait settings is consistent, your work naturally begins to look cohesive rather than varied from session to session.
For photographers moving from general or beginner portrait photography into a more controlled fine art approach, this shift toward consistency is often more important than chasing new gear or extreme settings.
Portrait of Daniele, © Matt Garnett 2024
For this portrait of Daniele I used the following settings:
• 85mm on a full frame camera (in this case my Sony A7RIII)
• f/8
• ISO 400
• 1/125 shutter speed
• One key light
At f/8, the detail across the face remains consistent, with just a slight drop off in focus as you can see in the fact that the ear is slightly soft compared to the facial features. The lighting becomes the primary way depth is created within the portrait.
If you are currently shooting wide open for most portraits, experimenting with f/8 or f/11 can significantly change how your portrait photography settings influence the final image.
ISO settings in fine art and studio portrait photography
ISO controls how sensitive your camera’s sensor is to light. A lower ISO number, such as 100 or 200, means the sensor is less sensitive and usually produces a cleaner image with less visible grain. Higher ISO numbers, such as 1600, 3200, or even 6400, increase sensitivity, which can help in darker conditions but typically introduces more noise or grain into the image.
Your ISO settings are another creative choice you have at your disposal. In fact, photographers often refer to ‘noise’ as an unwanted effect of hight ISO settings, whereas we might refer to ‘grain’ when a higher ISO was used intentionally to introduce image texture and a more ‘film-like’ result.
In many portrait photography guides, ISO is treated purely as something to keep as low as possible. In studio portrait settings, that is often sensible, but ISO can also be used creatively when you understand why you are adjusting it.
Lower ISO can help you achieve smoother tonal transitions
ISO 100 or ISO 400 produces smoother gradients and maximum image quality. In fine art portrait photography, those smooth tonal transitions often support a more refined look.

Poratrait of Elena, © Matt Garnett 2024
In this portrait of Elena, I chose to use ambient light from the room (a couple of standard room lamps) rather than a flash or key light, which pushed my ISO up to 4000. The added grain and texture works with the overall subdued atmosphere of the portrait.
In beginner portrait photography, noise is often seen as something to eliminate completely. In fine art portrait photography, controlled grain can enhance mood when it aligns with the concept of the image. The important thing in any portrait photography settings decision is intention.
Sub-surface scattering and skin depth in portrait photography
As you refine your portrait camera settings, it’s useful to understand how light interacts with skin.
Sub-surface scattering refers to the way light enters skin, travels slightly beneath the surface, scatters, and then exits again. Skin is translucent rather than fully opaque, which is why it can appear luminous when lit from certain angles.
Portrait painters understood this well. They built skin tones using thin glazes of colour layered over each other, allowing light to pass through those layers and reflect back. That technique created depth and warmth, which is why classical painted portraits often feel dimensional rather than flat.
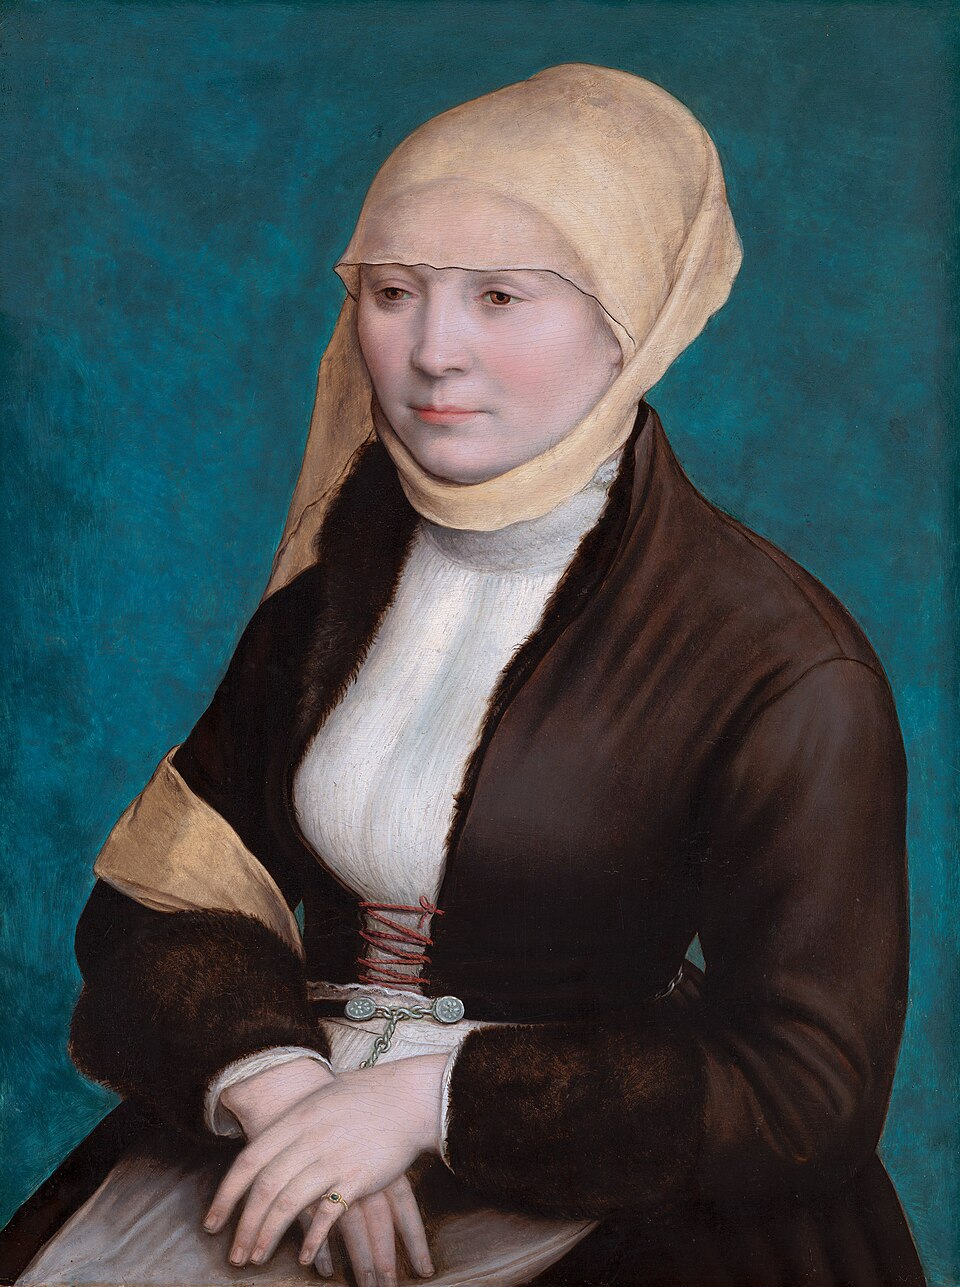
Portrait of a woman from Southern Germany, Hans Holbein the Younger, circa 1520 - 1525
In this stunning painting by Hans Holbein the Younger, we can see how delicate layers of colour have been used to build up an almost transluscent quality to the skin. In fine art portrait photography, we don’t use paint layers, but we can control how light interacts with skin. As an example, when your studio portrait lighting is placed to the side rather than directly in front, light travels across the surface of the face. That movement makes subtle tonal transitions more visible and enhances the feeling of depth.
Exposure is equally important. If highlights are overexposed, the delicate transitions that make skin look dimensional are lost. Shooting at f/8 or f/11 and exposing carefully helps preserve those subtle gradients. You don’t need to over think the physics, but understanding this concept helps you refine your approach to both lighting and exposure.
What are the best shutter speeds for fine art portraits?
In studio portrait photography using flash, our shutter speed mainly affects how much ambient light is recorded and how motion is handled.
Personally, most of my portrait camera settings fall between 1/80 and 1/400. This mostly depends whether I am shooting hand-held or using a tripod. When using a tripod you can rely on the added stability of your setup to use a slower shutter speed like 1/80 if you need to, but remember that just like all our other camera settings, shutter speed is a creative choice not a rule or a formula.

Portrait with Oscilloscpe, © Matt Garnett 2025
In this portrait I used a tripod setup with a faster shutter speed of 1/400. A fast shutter speed like this when using a fixed tripod might be seen as overkill, but I wanted to freeze as much fine detail as possible, particularly in the fabric of the clothing. Because of this faster speed I was able to fill the scene with strong light filtered through a softbox to avoid any harsh shadows on the subject. When refining your studio portrait settings, it helps to think of shutter speed as part of the balance between flash and environment rather than as a fixed technical rule.
Choosing the Right Focal Length for Portrait Photography
Focal length plays a major role in how a portrait feels and how facial proportions are rendered. It doesn’t just affect how close you appear to the subject. It changes perspective, compression, and how natural the face looks.
Portrait photography can technically be shot anywhere from around 35mm up to 135mm or longer on full frame. Wider lenses, such as 35mm or below, start to exaggerate perspective when used close to the subject. Features closer to the lens, like the nose, can appear slightly larger, while the sides of the face recede. That distortion might be useful creatively, but it rarely produces a natural representation of your subject.
At the other end of the scale, very long focal lengths such as 135mm, 200mm, or beyond compress the image more heavily. Compression reduces the sense of depth and flattens spatial relationships. While that can be flattering in some cases, extreme compression can begin to feel less natural and slightly detached.
In my photography I primarily work between 70mm and 85mm on full frame because that range tends to produce the most natural perspective to my eyes. It reflects facial proportions in a way that feels close to how we actually perceive people in real life.
Keeping your focal length range consistent is one of the simplest ways to strengthen your portrait photography style, especially if you are aiming for a refined and natural fine art look.

Portrait © Matt Garnett 2025
The simple one-light setup for fine art portrait photography
All of the portraits in this article were created using no more than a single key light.
For many photographers refining their portrait camera settings, simplifying the lighting setup is more effective than adding complexity. A single light encourages careful placement and thoughtful shadow design. For me, a light positioned around 45 degrees from the subject and slightly above eye level is often sufficient for creating depth and form.
Especially in fine art portrait photography, shadow is part of the structure of the image. Even studio portrait settings often benefit from restraint rather than excessive lighting setups.
Some common mistakes I made when discovering my preferred portrait settings
As I started taking portrait photography more seriously, there were a few habits in my own approach that I had to unlearn.
One of the biggest was shooting wide open all the time. By wide open, I mean using the lowest f-number available on the lens, such as f/1.8 or f/1.4, where the aperture is at its widest setting and depth of field is very shallow. I liked the background blur, but I wasn’t always thinking about whether that shallow depth of field actually supported the image. Sometimes parts of the face were softer than they should have been.
Another habit was switching focal lengths too often. I would move between lenses without a clear reason, which made my work feel inconsistent. Sticking to a narrower focal length range made a noticeable difference.
There were times when I adjusted camera settings before refining light placement. It took me a while to understand that small changes in light position often have a bigger impact than changing ISO or shutter speed.
I also treated ISO as something that should always be as low as possible. Over time, I realised that ISO can be part of the creative decision, especially when texture or atmosphere suits the image.
For me, improving my portrait photography settings came down to simplifying the process and becoming more deliberate with each choice rather than constantly changing variables.
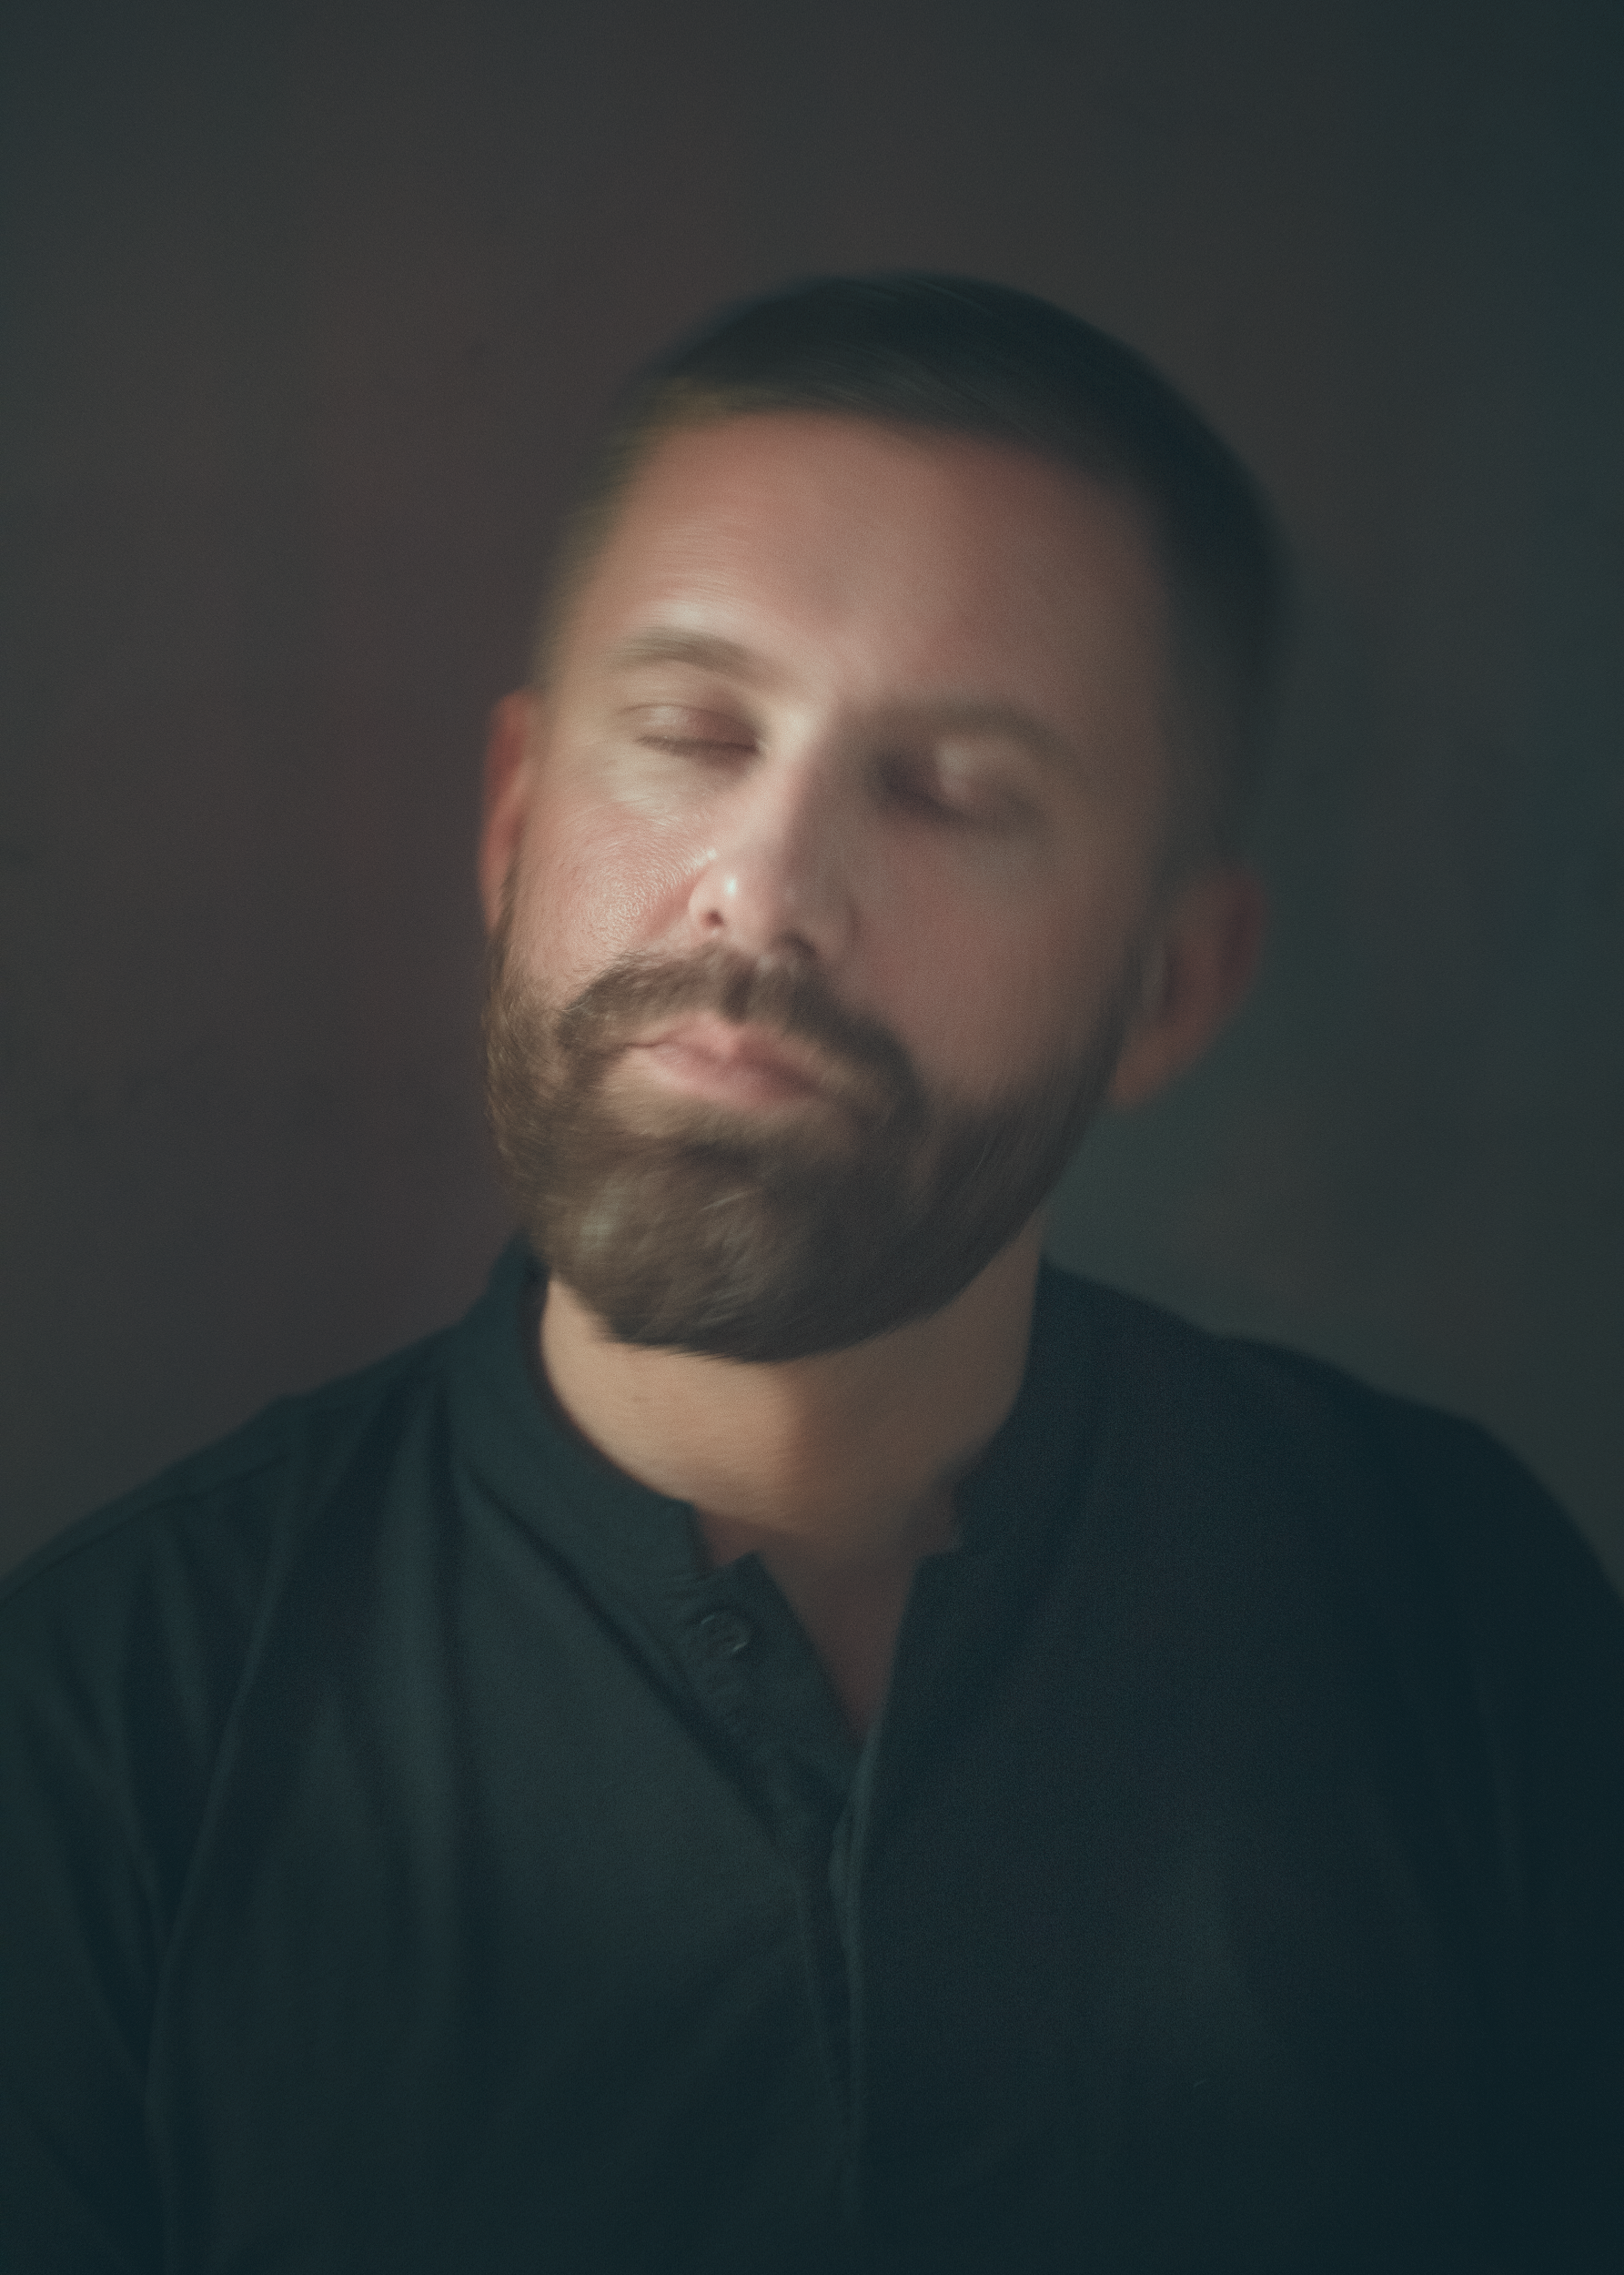
Portrait of Ondrej, © Matt Garnett 2026
The best camera settings for portraits depend on the look you want to achieve, but in fine art portrait photography, consistency and control usually matter more than extremes.
A disciplined aperture range, thoughtful ISO choices, balanced studio portrait settings, and a simple lighting setup will generally produce stronger results than a complicated arrangement of equipment.
If you would like to see more examples of how these portrait photography settings translate into finished images, you can explore the portrait gallery here on my website. You may also find my bird photography settings guide useful if you are interested in another practical breakdown of camera control.